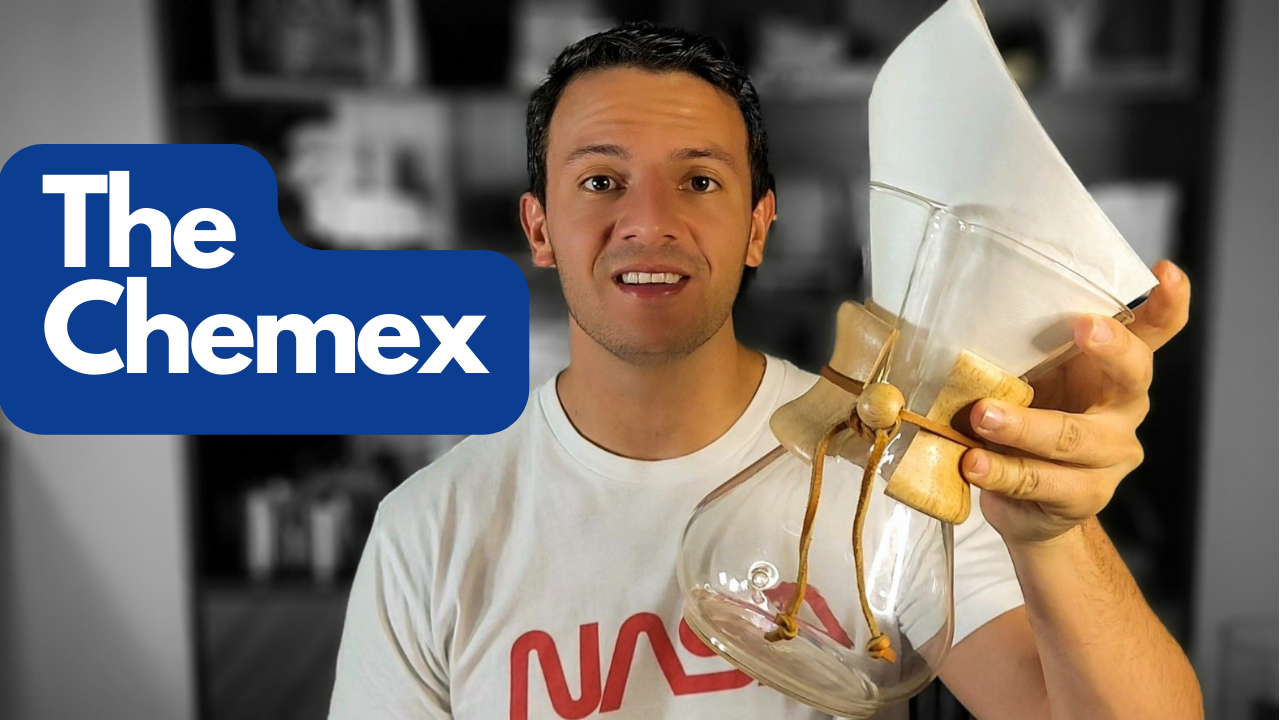
About the Chemex
STEP 1: GET THE ESSENTIALS
Ready to brew a perfect cup of coffee with your Chemex? Here's what you'll need:
- Syzygy Specialty Coffee
- Chemex Brewer + Filters
- Scale
- Gooseneck Water Kettle with Thermometer
- Ratio of 15:1
What does the ratio mean? A 15:1 ratio means you'll need 15 times more milliliters (mL) of water than you have grams (g) of coffee. For example, if you start with 15g of coffee, you'll need 225mL of water.
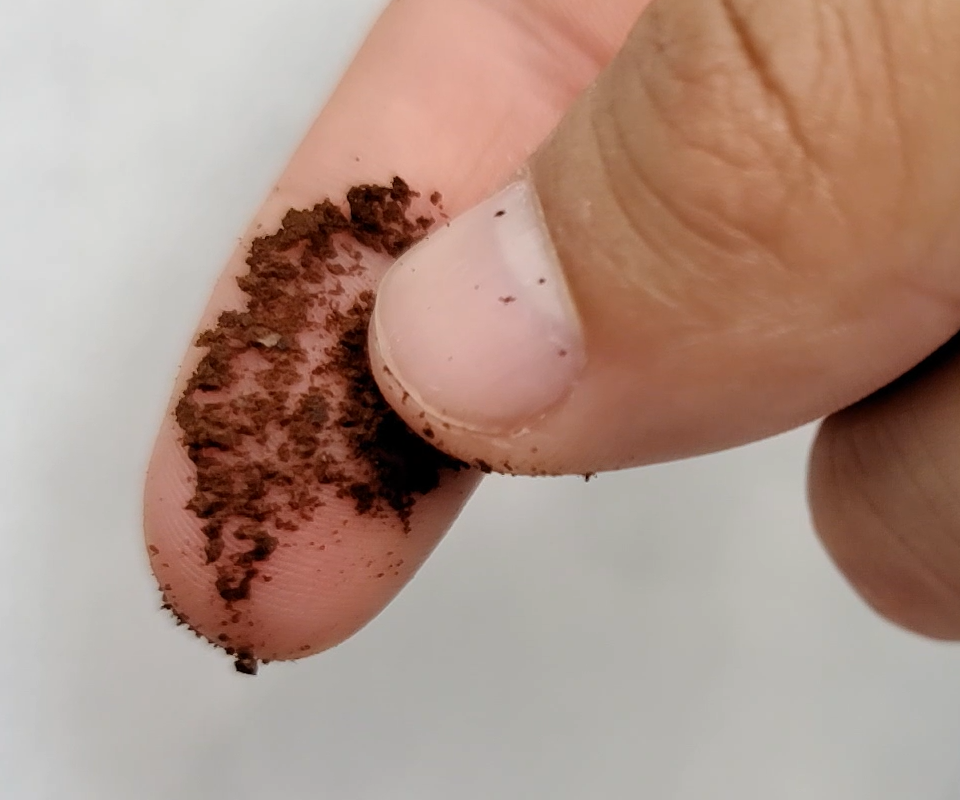
STEP 2: GRIND THE COFFEE
Grind your coffee to a consistency similar to coarse salt. For a Chemex brew, we recommend starting with 15 grams of coffee.
This will give you a great tasting coffee and allow you to adjust to your personal taste preference in the future.
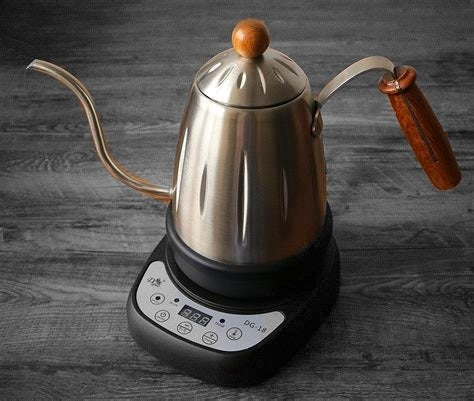
STEP 3: HEAT THE WATER
For 15 grams of coffee, heat 225mL* of water to 89°C (192°F).
It's always a good idea to heat some extra water for later use.
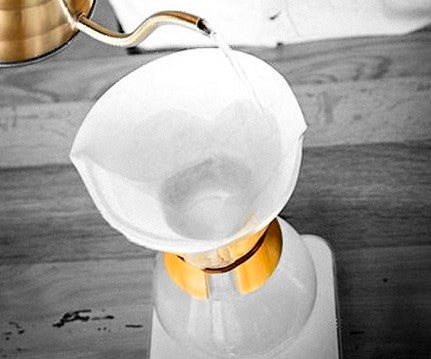
STEP 4: PREHEAT EVERYTHING
Pour some hot water into the Chemex with the filter on to preheat it and remove any papery taste from the filter. This is also a good time to preheat your coffee mugs. Discard the water after preheating.
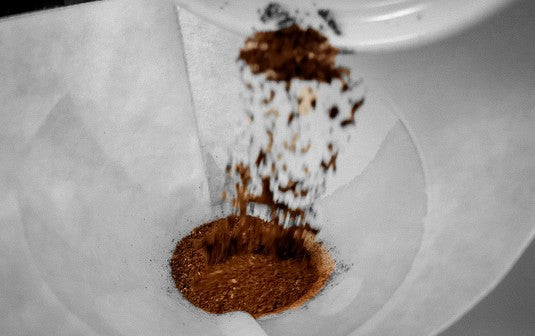
STEP 5: ADD THE COFFEE
Place your Chemex on the scale and add the 15 grams of coffee. Use a gentle shaking motion to level the grounds in the Chemex. Once the coffee grounds are level, set the scale to 0.
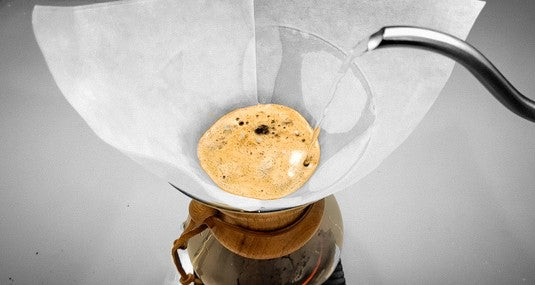
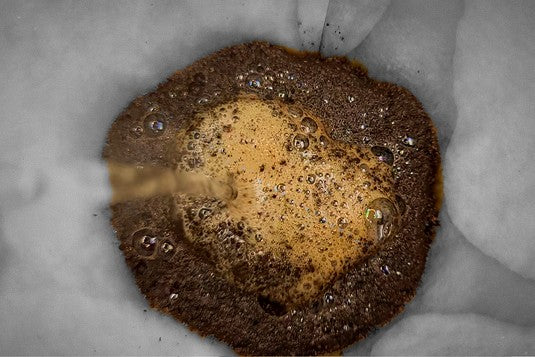
STEP 6: BLOOM THE COFFEE
Pour twice the amount of water as the weight of coffee used. In this case, pour 30mL of water over the coffee to allow it to bloom. Wait for 45 seconds.
STEP 7: POUR, POUR, POUR
After 45 seconds, pour 65mL of water in a spiraling motion over the coffee grounds, starting from the center and making your way outwards.
Wait another 45 seconds before repeating this process 2 more times, until the scale shows a total of 225mL.
The breakdown of water poured in each step is as follows:
30mL (for blooming) + 65mL + 65mL + 65mL = 225mL.
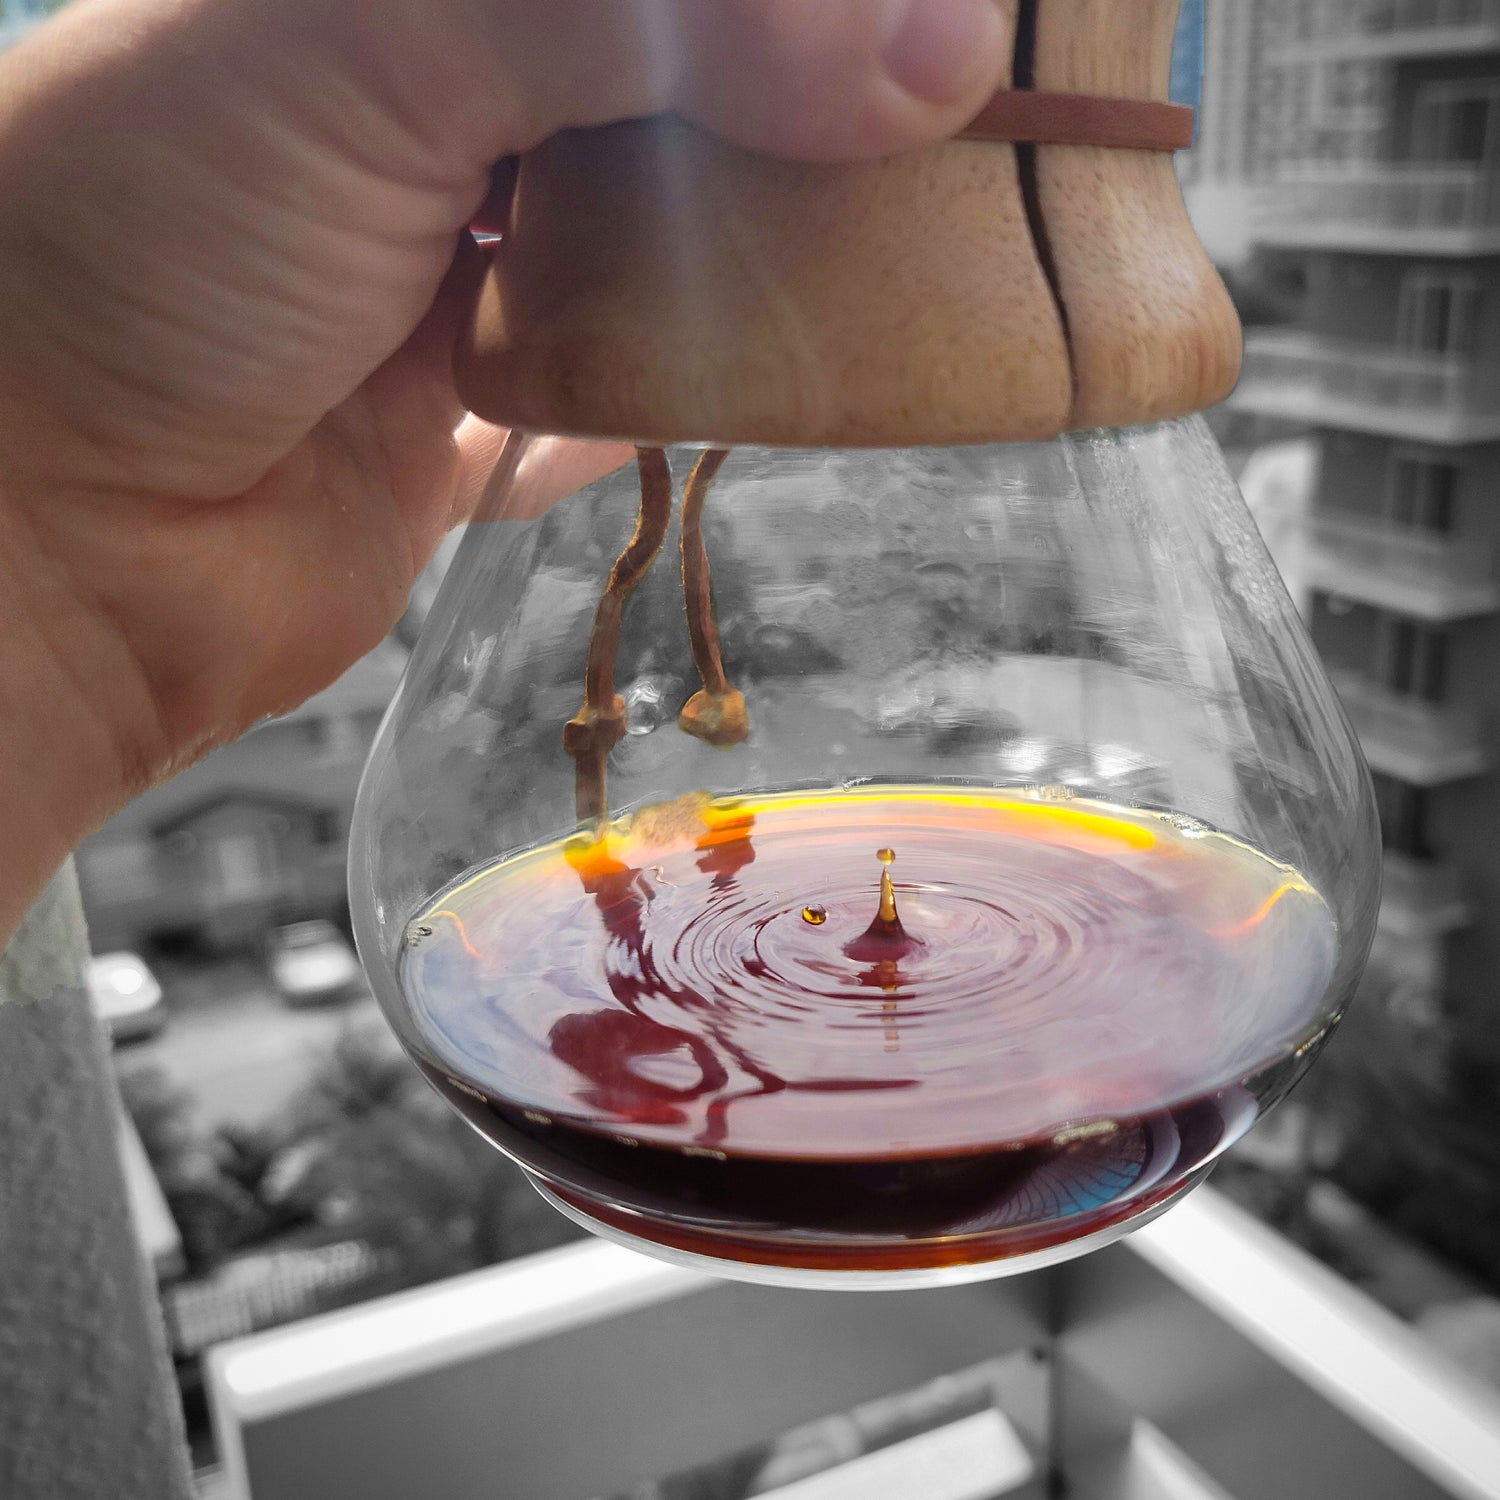
STEP 8: WAIT FOR IT TO FILTER
After the final pour, allow the coffee to brew for about a minute. The coffee will start as a stream and gradually become a drip-by-drip brew.
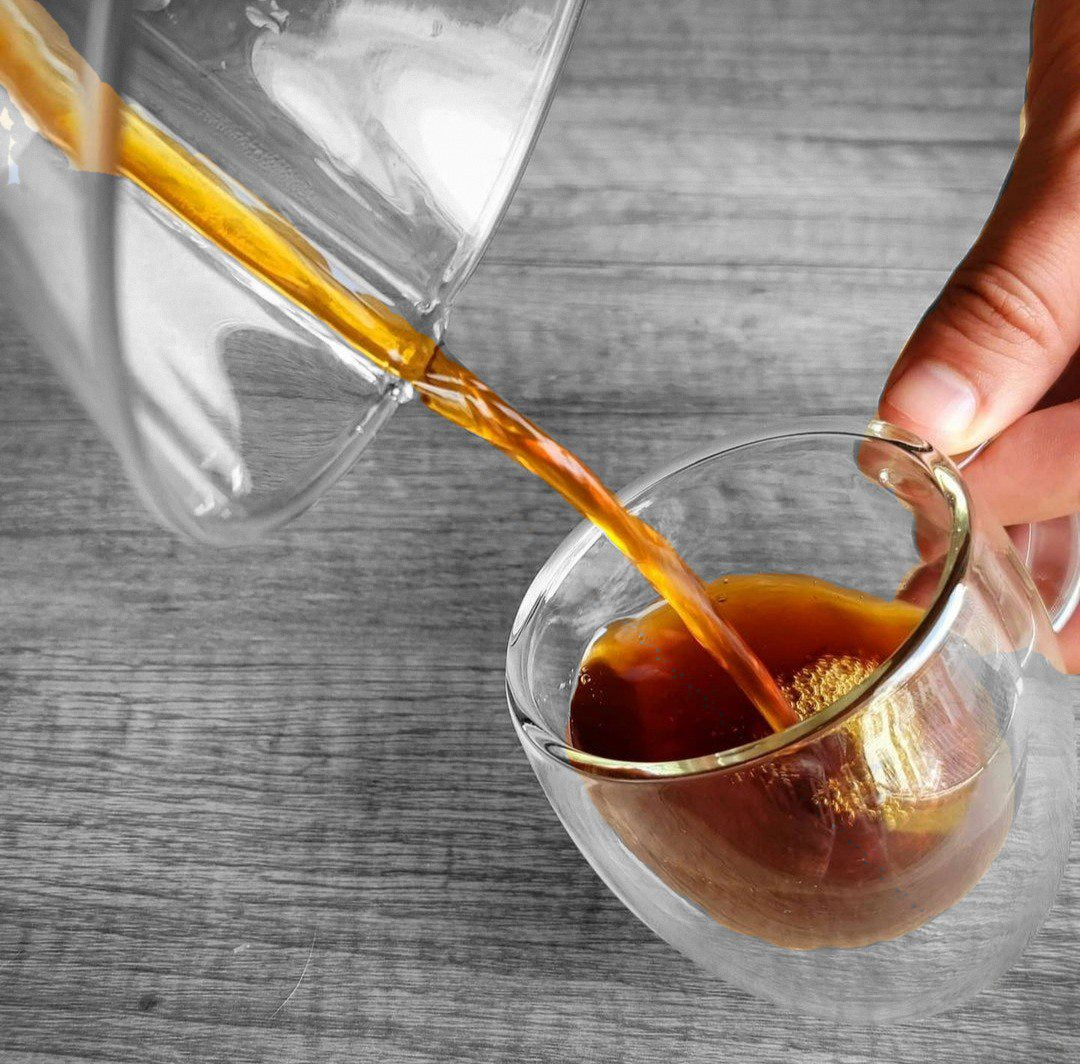
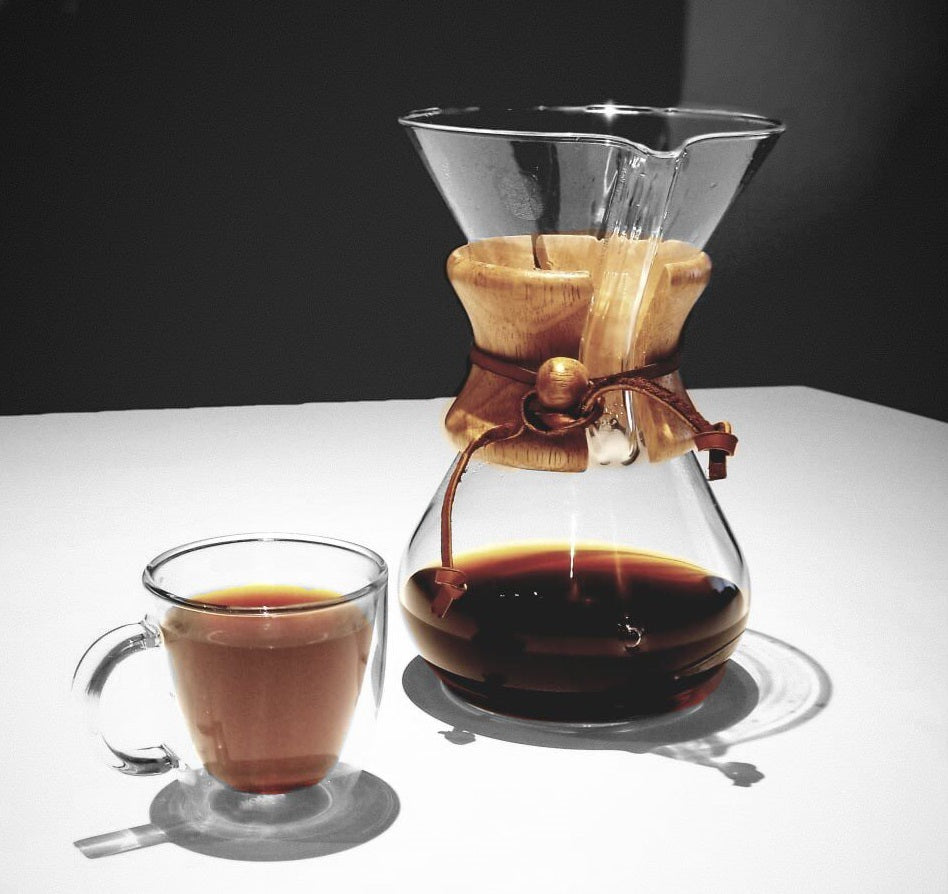
STEP 9: SERVE AND ENJOY!
Once the coffee has finished brewing, carefully remove the Chemex from the scale and discard the filter. Pour the coffee into your warm mug and enjoy the clean and smooth taste of your freshly brewed Chemex coffee!
Want One? Buy it Here! (Amazon Link)
Shop our Coffee
-
Valtteri Bottas Blend | F1 Inspired Coffee
Vendor:Syzygy CoffeeRegular price $22.95Regular priceUnit price per$18.00Sale price $22.95 -
Cosmos Blend by Syzygy Coffee
Vendor:Syzygy CoffeeRegular price $22.95Regular priceUnit price per$18.00Sale price $22.95 -
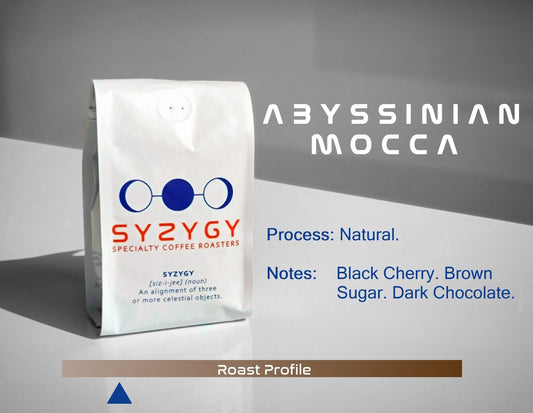
Ethiopian Coffee | Abyssinian Mocca | Natural Single Origin
Vendor:Syzygy CoffeeRegular price $26.50Regular priceUnit price per$16.00Sale price $26.50 -
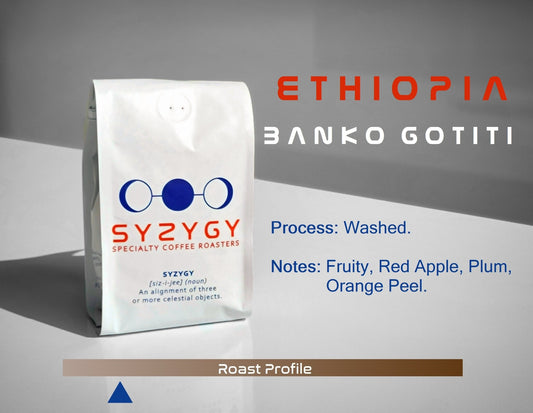
Ethiopian Coffee | Banko Gotiti | Natural Single Origin
Vendor:Syzygy CoffeeRegular price $24.00Regular priceUnit price per$16.00Sale price $24.00